Tuesday, November 3, 2009

Criss Cross Card

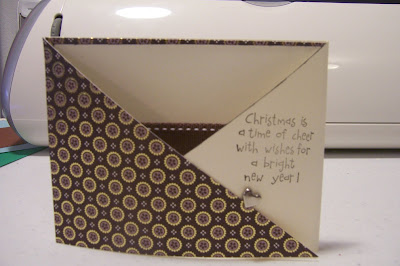
There's actually 2 ways of doing this card, u can glue the bottom closed & instead of doing the inside of the card u would, still do that step but not glue it in, so it can lift out. Hope that makes sense, I like my cards to stand up & open up, so I came up with a way to makie that happen, using this design.


We're going to start with a sheet of 8.5x11
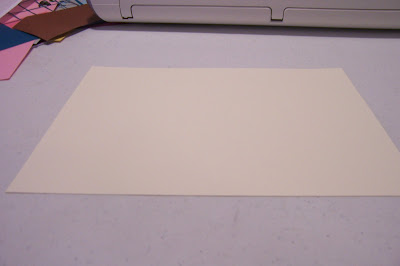
Cut in half lenth ways, so u have 2 (4 1/4"x11) pieces
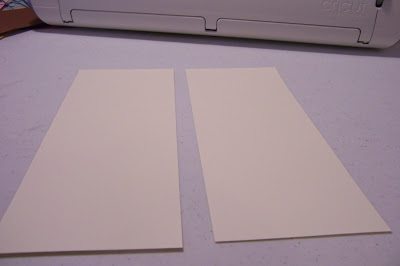
Score each one @ 5.5"
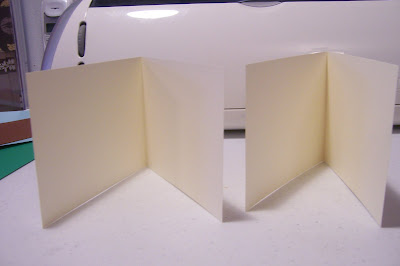
Glue together to make a trifold card.
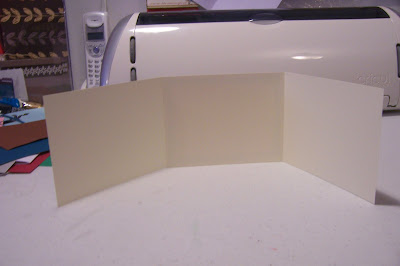
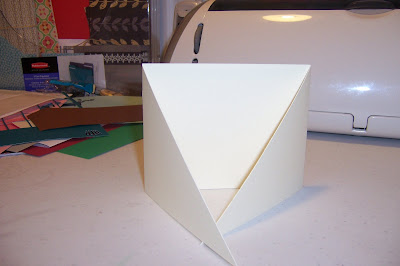
This is the bit that scares me LOL- line up each corner & slice, do this on both sides, make sure u cut the top of each one, it's my fear cutting the top of one & the bottom of the other.
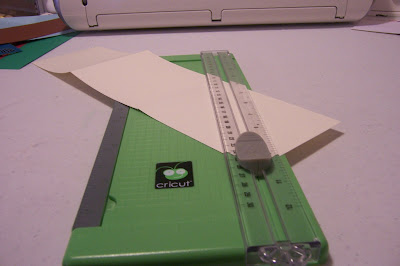
This is what it should look like when u're done slicing.
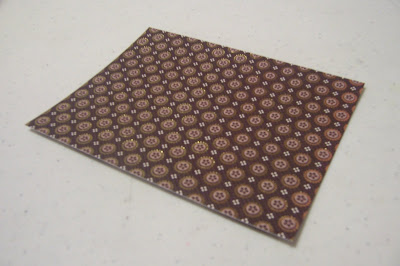
Next u need to cut 2 5.5 x 4.1/4 One will be sliced & the other will stay just as is.
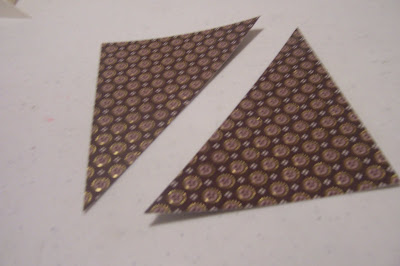
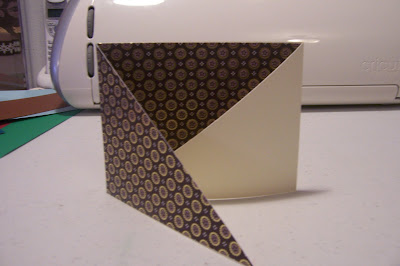
Take 1 half & glue onto the left hand side, u can use double sided paper & cover both sides of the card if u wish. Then the piece thats whole will be glued to the inside of the card.
Cut another plain rectangle @ 4 x 5.1/4I like to ink the edges, this will be glued inside of the card too.
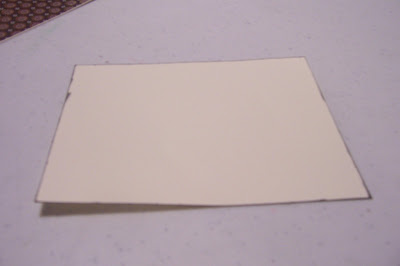
Add some ribbon or patterned paper, whatever takes ur fancy.
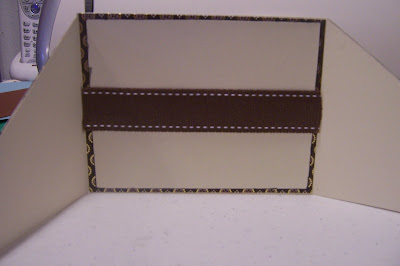
This is the trickiest bit, make a whole for the brad, I use a pencil to mark where I want it 1st.
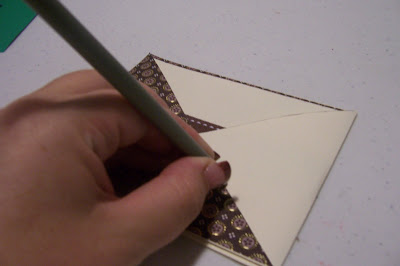
Punch the hole
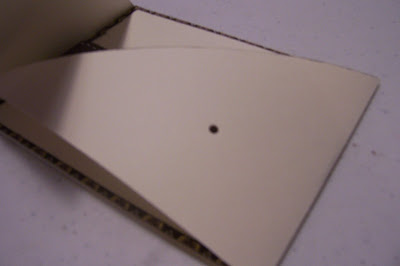
I like to stamp on the plain side, I also added a brad to hold the card closed.Add a little "something" to match ur theme, mines going to be a Christmas card so I picked to do the Christmas poinsettia, & there u have it, quick & easy.

Thursday, July 16, 2009

Freezer shirt

I wish the paper was a little smaller, the hardest part of the whole thing is getting the paper to the right size!

Cut the paper to 12x12 (or 6x12 for the baby bug)
Place it on the mat dull side DOWN, cut the design u would like. REMEMBER if u are doing letters & words to write them backwards & flip them. If u do not have CDS or an E, u can put the paper on shiny side down & it will have the same effect.

This is the paper after I've made my cut.

Place the paper shiny side down on the shirt or whatever u are going to paint, then rub over it with a hot iron (no water) make sure the edges are down really well. If they're not the paint will run under them. Place the paper over everything u don't want to paint: for example I added paper over the eyes & the mouth, so they stayed white. Before u start painting u will want to put some paper inside of the shirt, so the paint doesn't leak through. Make sure u don't put the paint on too thick, but u also want to make sure that u have no "white" (or whatever color the shirt is) left either.


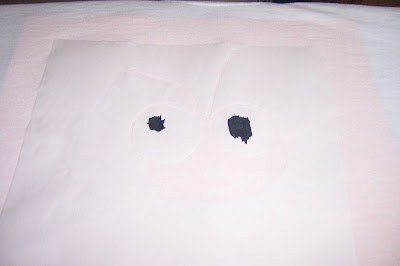
Here I painted the black for the eyes.

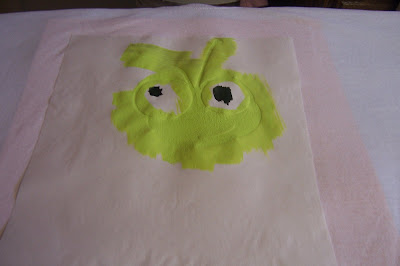
Then comes the green, just had to be careful not to get any on the black. It looks kinda funny when the paint is wet, so don't worry until after u pull off the paper LOL
Here it is, the finshed product, when peeling the paper off be careful especailly if the paint is still a little tacky.

Thursday, May 21, 2009

Glass Etching

What u need: 1 bottle Armor etch, Cricut sticky back vinyl, paint brush & glass dish!
Messure the pan to see how wide or long it is, (I like to use Design Studio when doing this, then I know for sure it will be the right size) BUT if u don't have DS then u can cut as normal.
Set u're blade length to 3 & the pressure to 2. Place vinyl on ur mat as u would paper & cut like normal. This next part is the tricky bit! U have to peel the outside of the vinyl off the backing paper. I leave the middle of the letters until last. (like on the A & D, I will add those once the vinyl "sq" is on my glass)

Place the outside of the vinyl sticky side up on the table, I found placing the dish on the vinyl easier than placing the vinyl on the dish. Make sure everything is flat b4 u place the dish down.


Next U want to smooth out ALL air bubbles, especally the ones made by the letters, u don't want any cream to get into the bubbles.
Now we're ready to add the cream, make sure u put it on thick. I like to hold up the glass dish after & look under to make sure everything that needs to be covered is. Make sure u don't get any cream on the glass other than what u want etched. If u do by mistake get cream over the edge wipe it off right away.

Leave the cream on for 15 minutes, then using the paint brush again wipe off the cream, U can reuse it, so I just put it back in the pot. Again be careful not to get cream where u don't want it.

It's time now to take it to a tap & wash off any cream u have left. I just use my figers to gently rub the glass, sometimes cream gets stuck at the bottom of the letters.
The water also helps the vinyl come off easier. I peel mine off once I've got all the cream off & the water is still running.

The finished product!!!


Saturday, February 28, 2009

Paper pockets

So I saw this on Scrapbook memories & thought it would be a fun thing to make. I've been making manget paper dolls for my daughter & she needs somewhere safe to keep them.
So lets get started: all u need is a 12x12 sheet of paper or cardstock, 1 cutting blade, 1 scoring blade & some really good glue, (I used my glue runner) u could also use double sided tape.
The 1st thing is to cut the paper in half, (so then it will messure 12x6) I used double sided paper, but whatever u would like is fine.

Next we're going to score a line, I done my at 3 1/2" I've also done a 4" one (it's the last photo) It really depends how deep u'd like ur pocket to be. Just don't go too small.
With the score line made, we're going to fold it up, so that will become the pocket, once the score line is all the folded, open again & glue ONLY THE SIDES, then refold & make sure it's stuck really well.
This is what the back looks like now. Just add some more glue to all the edges, as we're going to stick it to a 8 1/2 x 11 sheet of cardstock.

There u have it, it's really that simple & super cute.
Here's another one I made, this is the one that has 4" pockets.

Thanx for stopping by, come back soon!! :)


Tuesday, February 17, 2009

Today we're going to do the Waterfull fold, it's super easy & very impressive.
I Scrap on 8 1/2" x11" paper, but u can use 12"x12" if u want. Also u can do up to 6 sq's I only used 4 for this lesson.

K so to start we're going to cut 1 strip (red) of 2 1/2" x 11" paper or 2 1/2"x12" if thats what u want to use, 1 1"x8 1/2"(yellow) or 1"x12". Then we're going to cut 4 sq's @ 2 3/4". U want ur sq's. just a 1/4" bigger than the strip.


Next we're going take our red strip & score it. To do this put in ur score blade & start 2" from the bottom, then we're going to score every 1/2" until we have 5 score lines (as we're doing 4 sq's) Fold along the score line in the same direction (as shown) The more u bend the lines the better it'll move later on.


Now we're ready to glue the 1st sq. on. I like to put the glue on the strip, just be careful not to get glue on the score line. The space that is 2" is now the bottom & thats where we'll glue the 1st sq.
With the 1st sq. added we can add all the others. I like to stamp, glue on pix & embellish before I glue them onto the strip.


So now we've got the hard part done, I hope it's making sense, sometimes I have a hard time explaing things LOL (don't ask y I put together a "how to" blog lol)


This might be the trickiest bit of all & the hardest to explain. Now we're going to take our yellow strip & place it inbetween the bottom sq. & the red strip.


Once u have the waterfull where u want it on the page, u can go ahead & glue it down to the page. Just be super careful not to get any glue on the red, if u do, the pull won't work.


U can add a little "pull tab if u like so people know there's more to come. Don't worry if it's a little stiff @ 1st, it will ease up with time & playing.

Embellish the rest of the page as desired, sometimes I like to add a staple or 2 (or 3) to the yellow strip just for an extra hold. Also be careful with the other embellie's won't get in the way of the flow on the fold.

Thanx for stopping by, hope this makes sense, it was a little harder to explain than I thought it would be!!


Wednesday, February 4, 2009

How to: Emboss a glue dot

So today we're going to Emboss glue dots. It's really simple they only real thing you need to remember is that glues DOES MELT!!
So once you have the amount of glue dots out that you want to emboss, you get the embossing tray, (u don't have to use a tray but it sure makes it easier) Pick the color of embossing powder you want to use.

Pour a little powder into the tray (or onto the paper if thats what u are using)


Keep the glue dot on the wax paper, you only want to emboss the TOP. Press the glue dot into the powder to make sure that the sides are all the way covered.


This is what the dots look like once they are covered in powder. Now for the tricky part. We are going to melt the powder, you need to really watch the dots, you only want to melt the POWDER, you will know they are done once theybecome shinny & smooth to the touch.

Here they are embossed. Let them cool before you remove them from the wax paper. The top is no longer sticky but the bottom still is.

Here's a card I made with my dots after they are embossed.
Thanx for stopping by, hope you learnt something today.